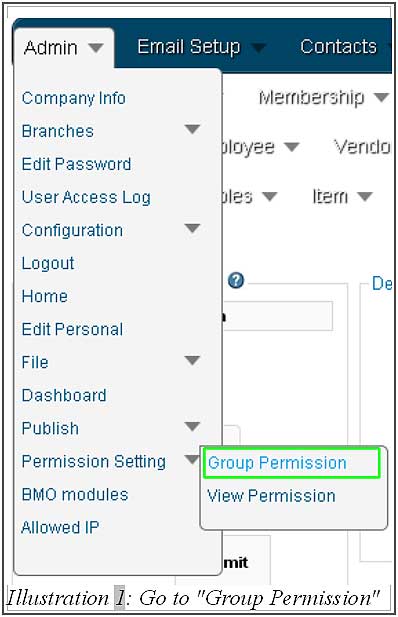
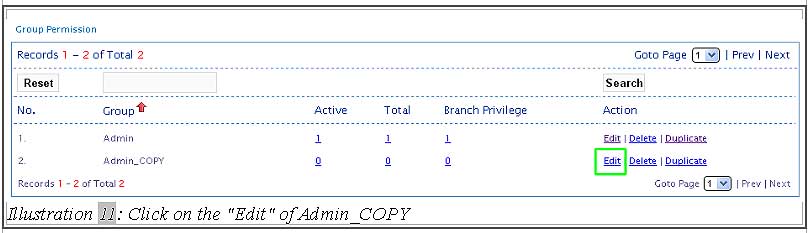
1. Firstly, go to “Group Permission” (Admin > Permission Setting > Group Permission).
2. Click on the “Duplicate” button to create a new group permission.
3. Next, you can go to “Edit” the group that you want to change the permission.
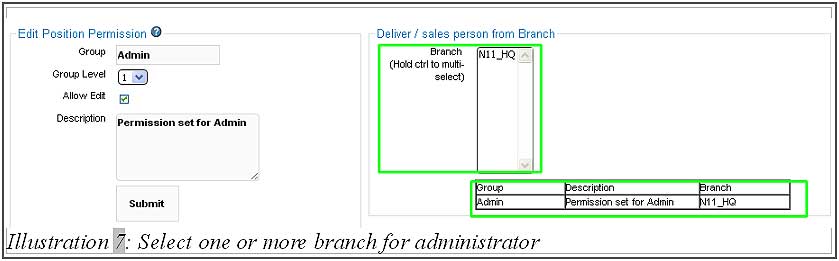
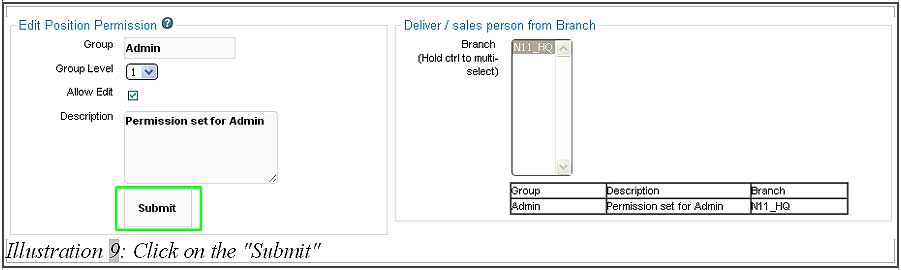
2. Click “Edit” to set the permission for Admin. Then, select one or more branches for “Admin” access.
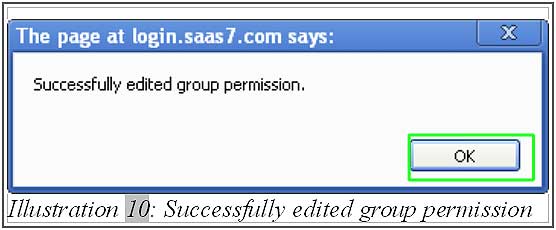
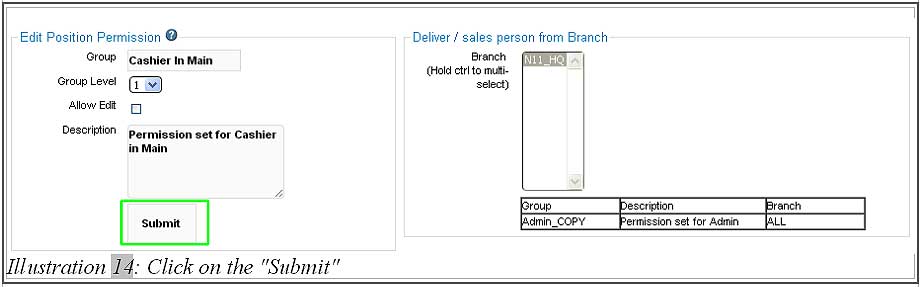
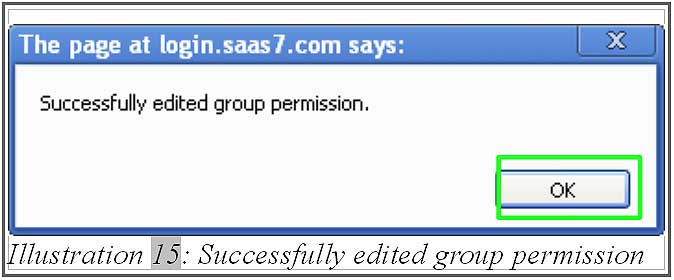
4. Remember to assign branch to the admin. Finally, click on the “Submit” button to save the group permission setting. Then, click “OK”.
1. Please refer to “A. Create New Group Permission” to duplicate a group permission. Then, select the group that you want to change the permission. In this case, you may want to set some functions in Offline POS Terminal which is only available for the admin but not employee. Then, click “Edit” as shown below.
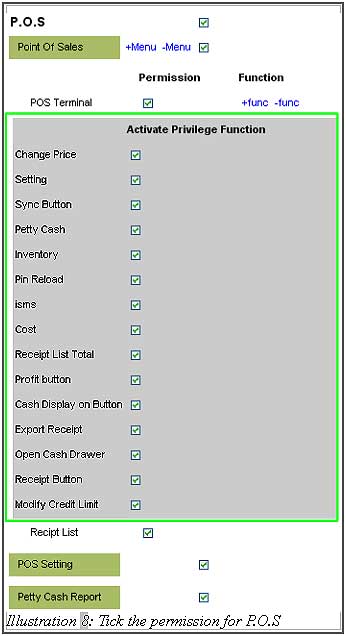
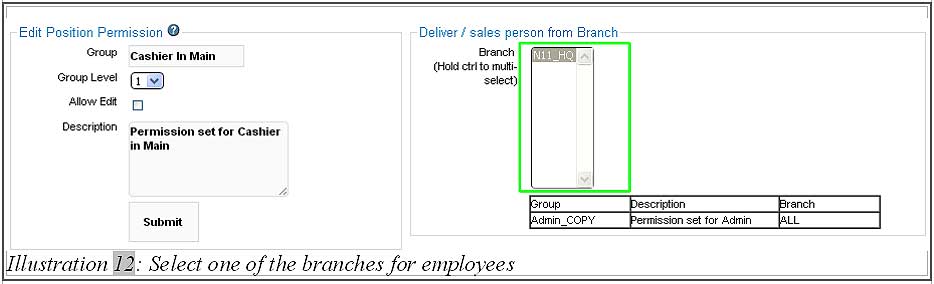
2. Select one of the branches for this group permission, then set the permission for P.O.S.
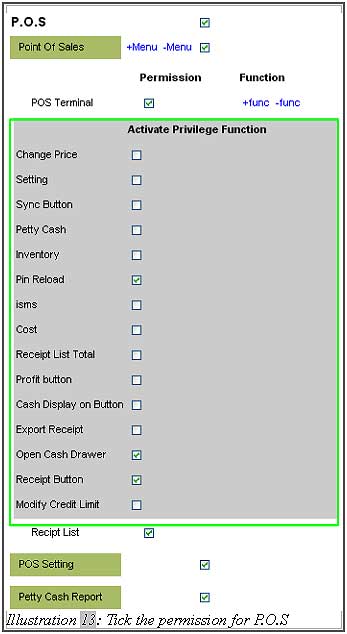
3. Tick suitable permissions for your employee. If you de-select any settings under “Active Privilege Function”, it will affect the setting in Offline POS Terminal. De-select the permission that employees are not allowed to use when using Offline POS Terminal.