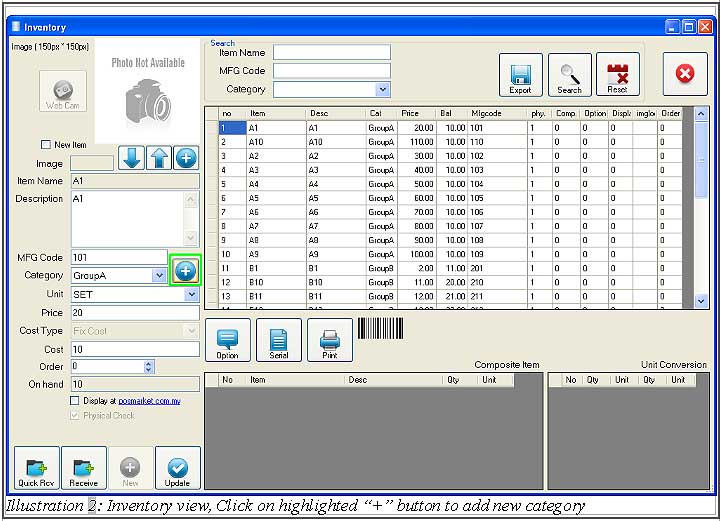
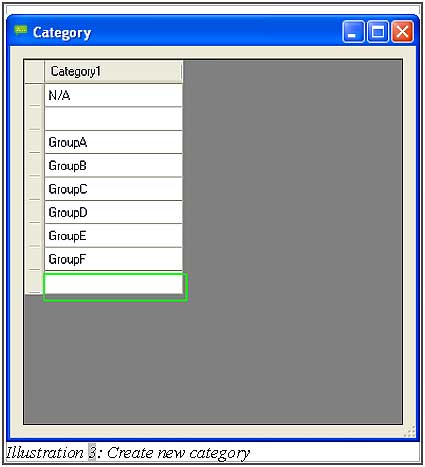
2. As you click on “+” button, category windows will appear as illustration below. To create a new category, you have to click on the row below of “GroupF” . You may click on it, write category name and press enter to insert new category. For example, write “GroupG” after clicked on the last row and press enter. Reminder, user must press enter else it wont save the new category. In addition to that, you can change category name by clicking on existing category. After added, click “x” to close.
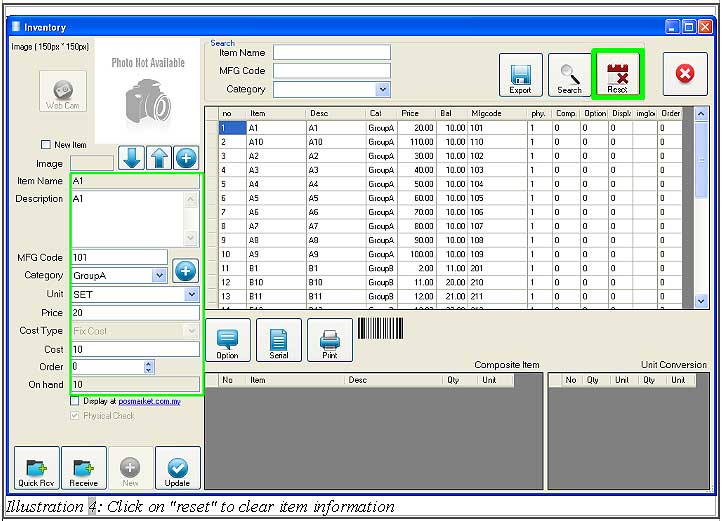
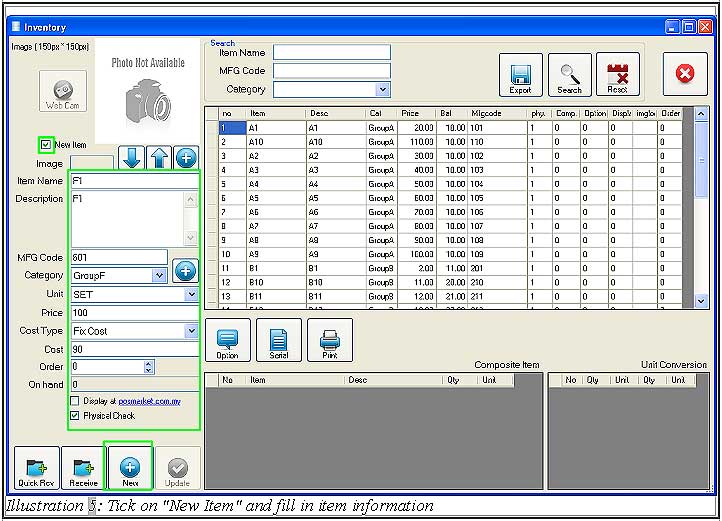
1. You can add the new item via BMO Offline POS Terminal. Firstly, you have to click on “reset” button first to clear item information as illustrated below.
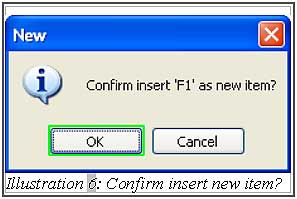
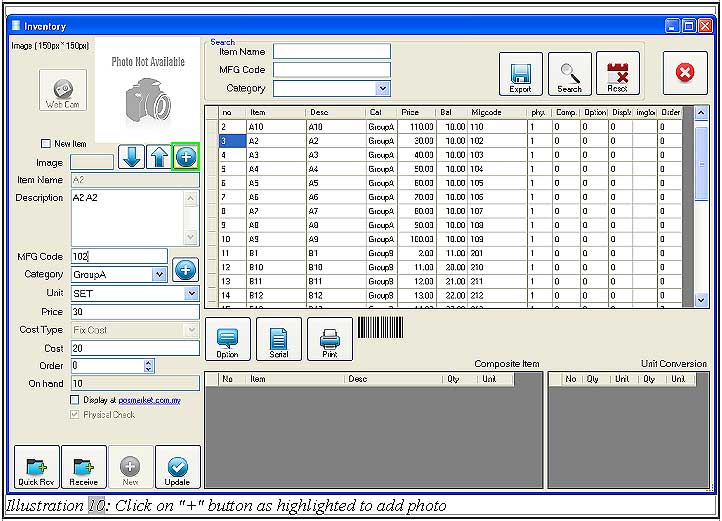
2. Next, tick on “New Item” on windows below. Insert all related details of the item into inventory form. Click “New” once you complete insertion.
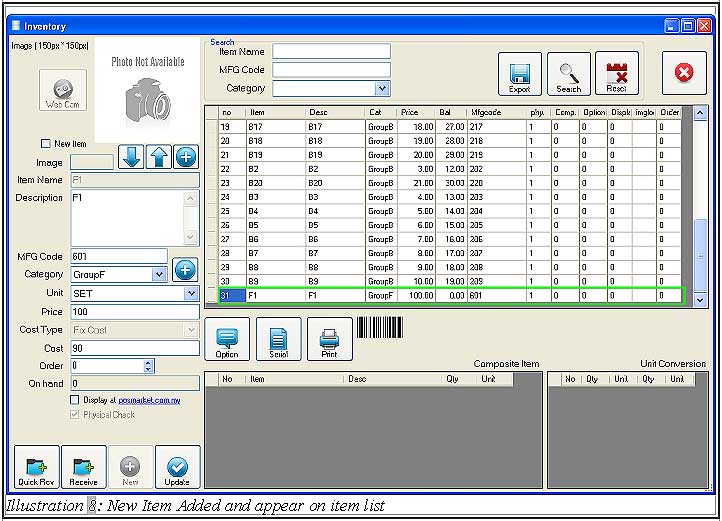
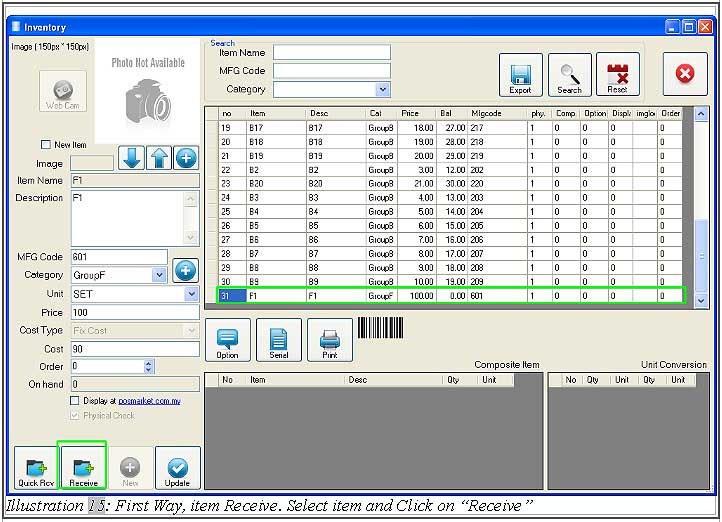
5. As the new item is added, the new item will be listed in the inventory list. If you want to start selling this item, you need to receive item. Please refer to D. How to receive item.
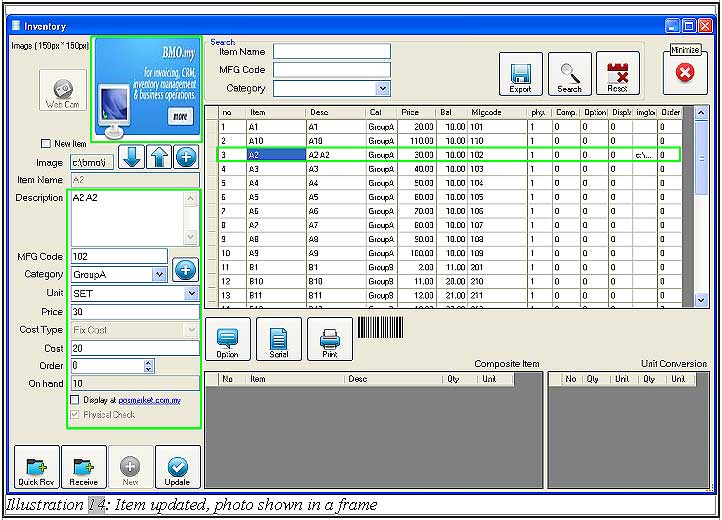
1. If you want to update the details of the item, select the item and edit it. For example the price of the item changes from 1.69 to 1.99.
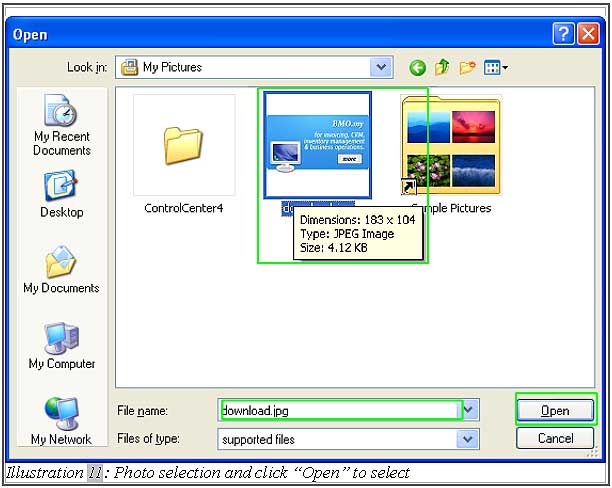
2.2 Select the photo which you want to upload. Then, click on “Open” to select the photo.
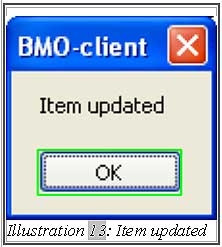
5. After the item is updated, a photo will be shown with the item details when you click on the item. In addition, the item information will be updated as well.
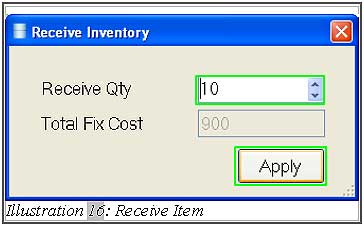
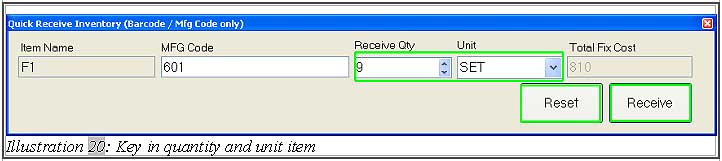
2.3 After you click “Receive”, a screen will pop up to ask you to key in “Receive Quantity”. Click “Apply” after adding the quantity. The cost will be the total amount for received item.
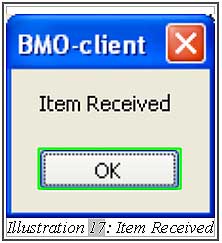
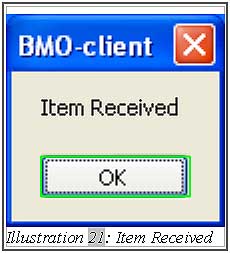
2.4 A pop-up message will inform you that the item is received successfully.
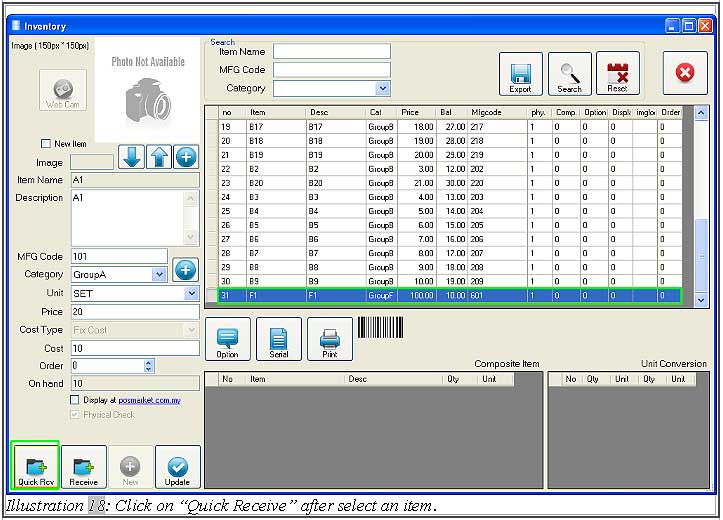
3.2 You can receive item by keying or scanning MFG code of item.
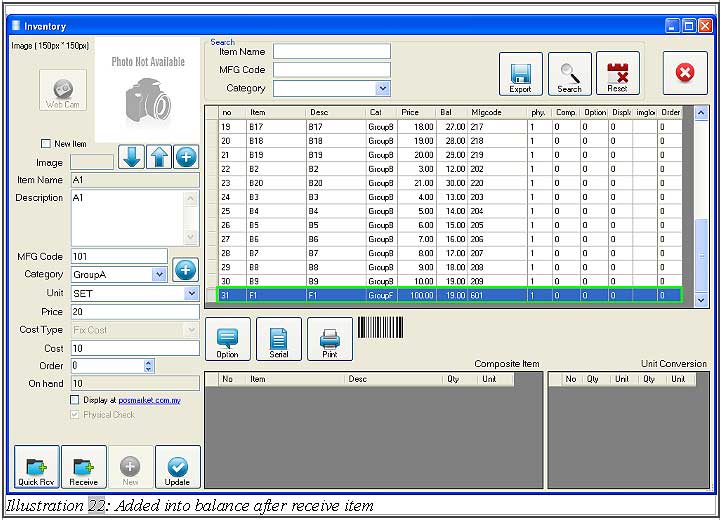
3.5 You can now check out the on hand quantity in item list.
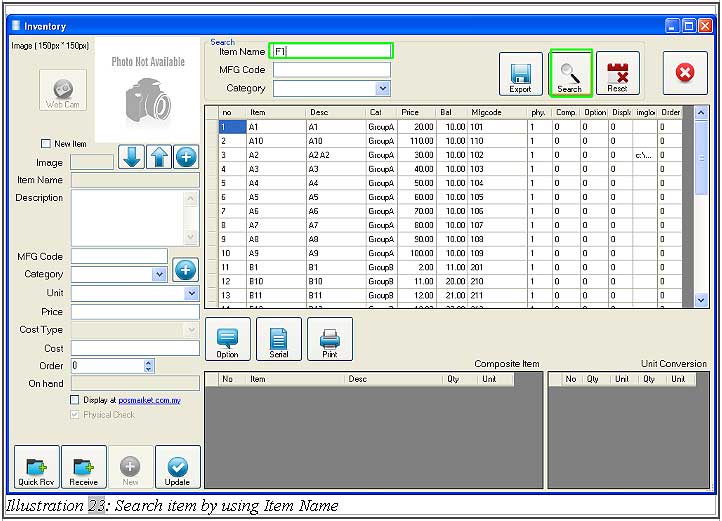
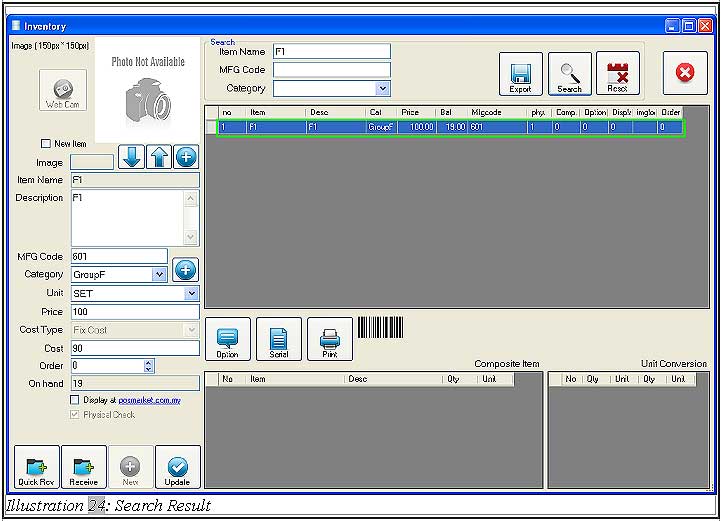
3. Item(s) will then be shown in item list according to the search request.
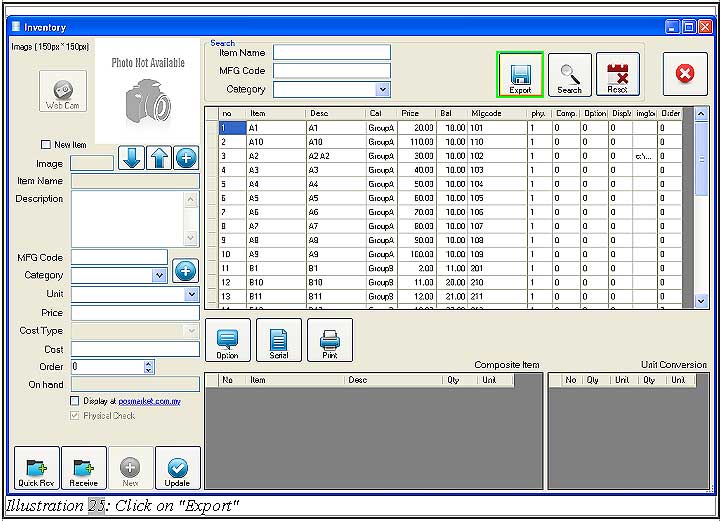
1. You have to click on “Export” button to export inventory list into .CSV file.
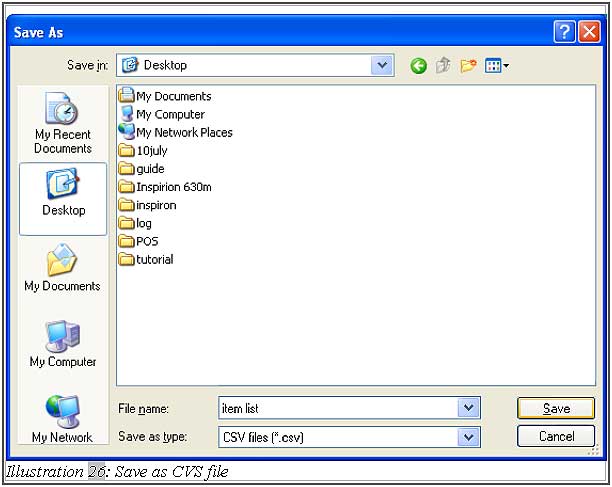
2. Save the document. After clicking “Save”, a message box will be appeared as below. Click “OK” to continue open file.