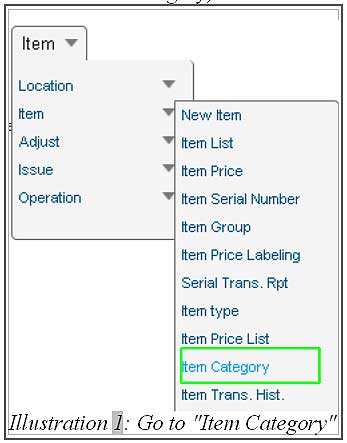
1. First of all, you must create a category for voucher. Go to “Item > Item > Item Category”.
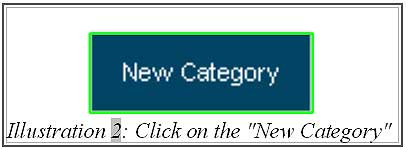
2. Click on “New Category” to create new category.
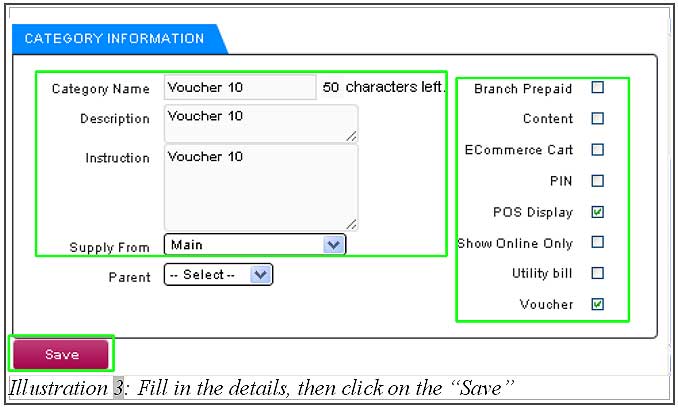
3. Fill in the details (category name, description, instruction and supply from) of new category. Then, tick the “POS Display” box and “Voucher” box. Next, click on the “Save” button.
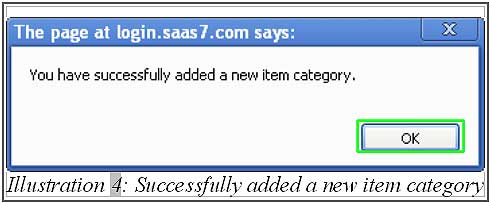
4. Finally, a notification will pop up to inform you that the new category for voucher is created. Click “OK” to dismiss the message.
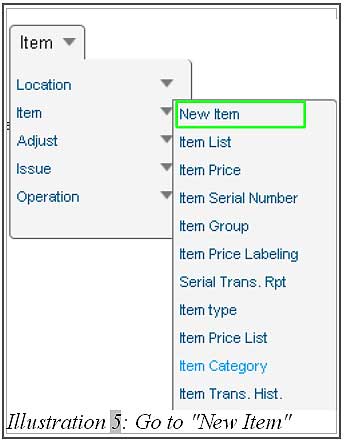
1. Go to “Item > Item > New Item”.
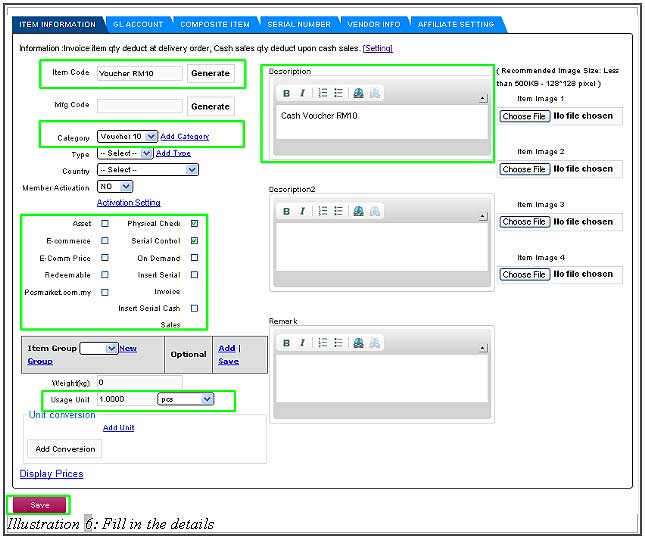
2. Fill in the details of the item (voucher). Then, tick on the “Physical Check” box and “Serial Control” box. After that, click on “Save” button to save all the details.
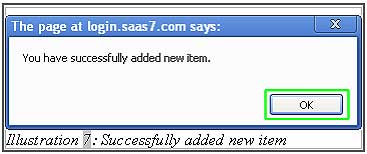
3. A notification will pop up to inform you that the new item has been added successfully. Click “OK” to dismiss the message.
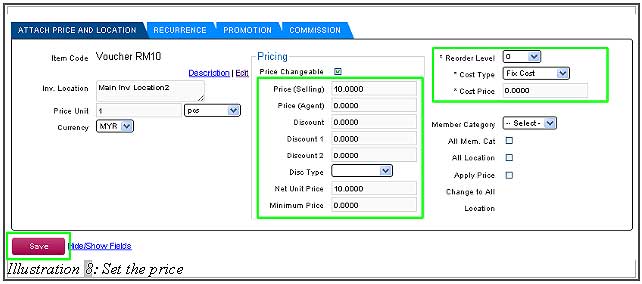
4. Then, you will proceed to the next step in which you can set the price (Selling) of the voucher, select the cost type and set the cost price. After that, click on the “Save” button.
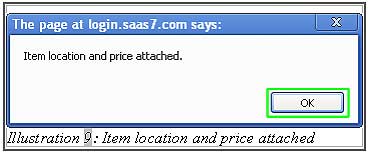
5. A notification will pop up to inform you that item price and location has been attached. Click on the “OK” button to dismiss the message.
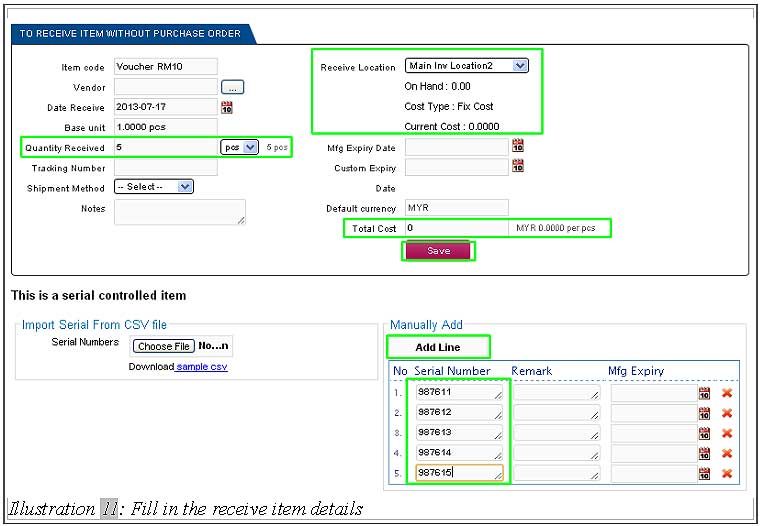
1. Once you have added the voucher successfully, you can now receive the voucher. Click on “Receive Item” for “Voucher RM10”.
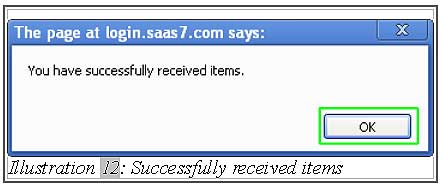
b) A notification will pop up to inform you that item has been received successfully. Click on the “OK” button to dismiss this message.
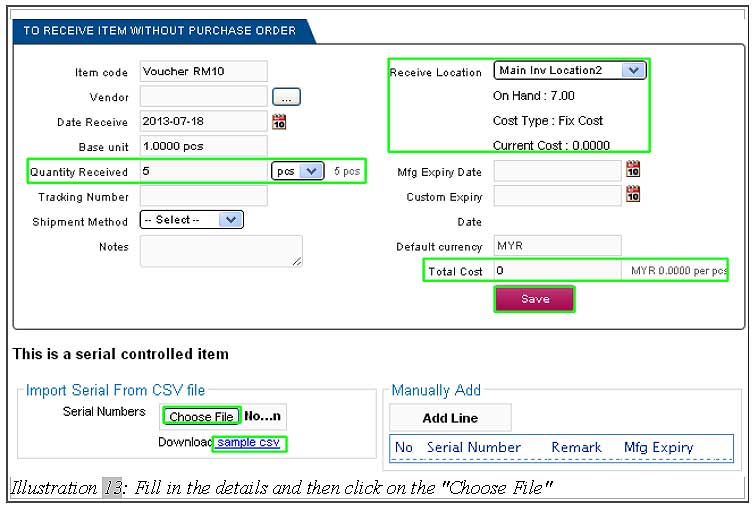
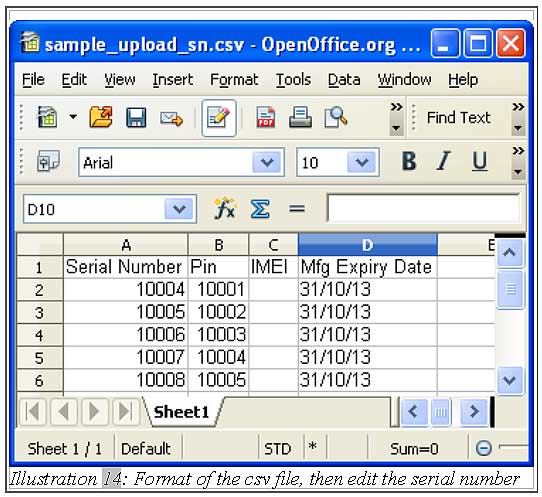
b) Please download and follow the format in the “sample.CSV”. Fill in the “Serial Number”, “Pin”, “IMEI” and “Mfg Expiry Date”.
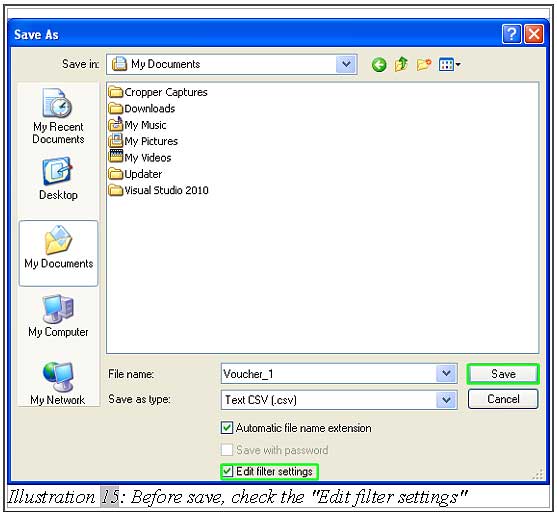
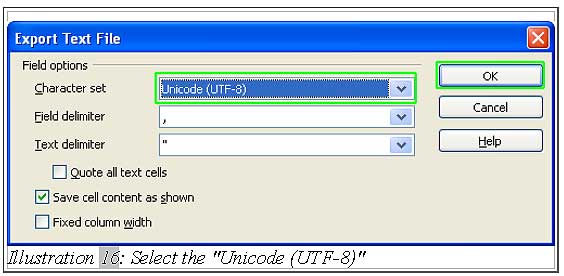
d) A window “Export Text File” will pop up. Please set “Character set” as “Unicode(UTF-8)”. Then, click “OK”.
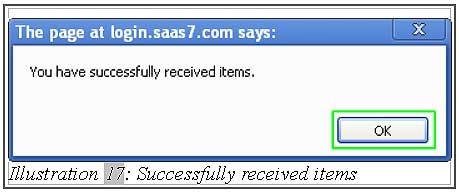
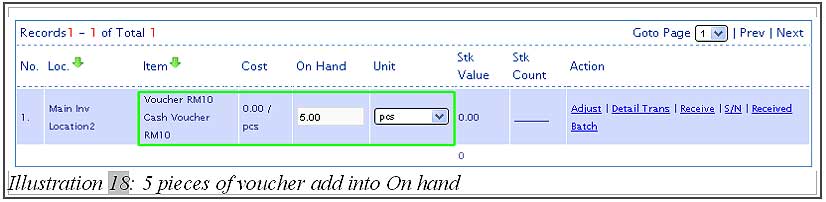
g) Finally, you have successfully received the voucher and added into the “item on hand”.
1. You can also check the serial number of the voucher by clicking on the “S/N” in the item list.
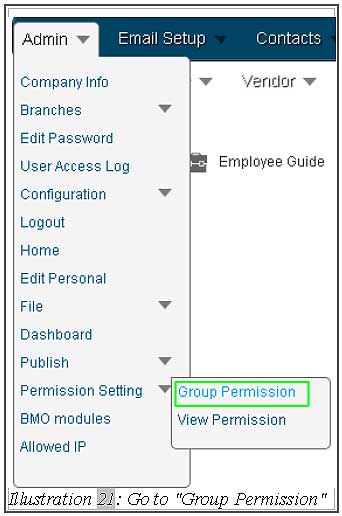
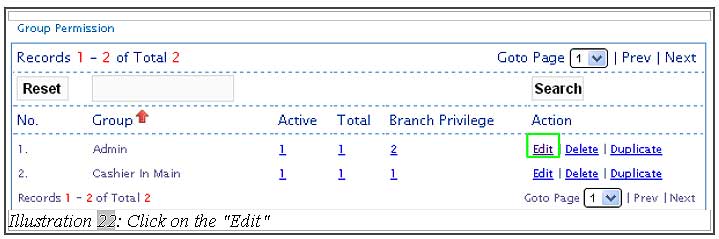
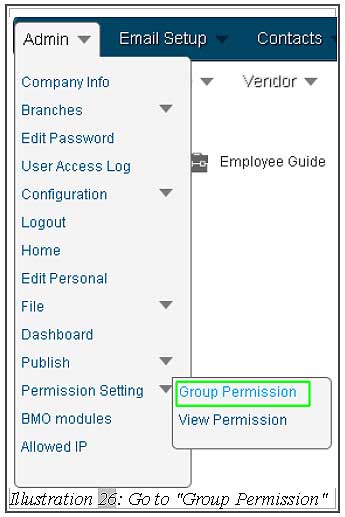
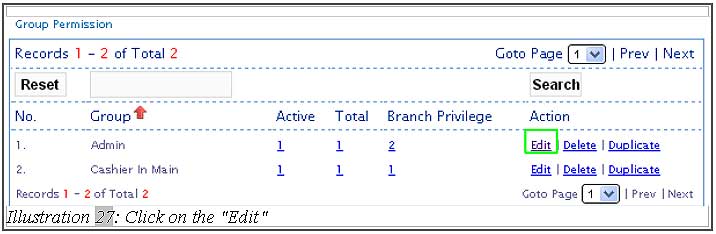
b) Choose one of the groups that you want to set, then click on the “Edit” button.
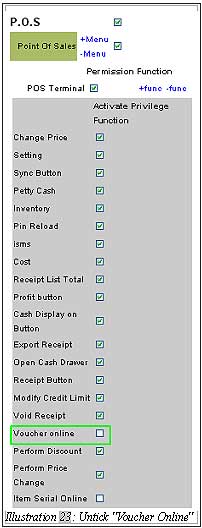
c) Under the Activate Privilege Function, untick the “Voucher Online” box.
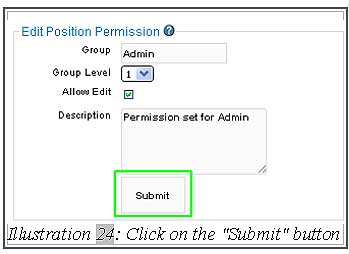
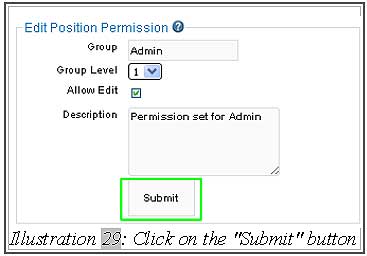
d) Then, click on the “Submit” button.
e) A notification will pop up to inform you that you have successfully edited the group permission. Click “OK” to dismiss the message.
b) Choose one of the groups that you want to set, then click on “Edit” button.
c) Under the Activate Privilege Function, tick the “Voucher Online” box.
d) Then, click on the “Submit” button.
e) A notification will pop up to inform you that you have successfully edited the group permission. Click “OK” to dismiss the message.